
Internal Power Distribution Diagnosis
Dixie-Narco DNCB 368MC
Internal Power Distribution Diagnosis
Diagnosing loss of power inside the cabinet when wall supply is confirmed good.
Qualified technician handoff: stop before live electrical testing, sealed-system refrigeration work, compressor service, or protected-compartment access unless a qualified technician is handling the work.
- Repeated fuse failures indicating unresolved short circuit
- Transformer overheating
- Any arc flash or spark observed
Checklist
Guided Diagnostic Steps
Work from low-risk checks toward technician-level inspection only when evidence supports it.
You can read or print the route now. The first checkbox click opens the service contact gate.
- 1
Inspect Internal Fuse and Line Filter
operator-intermediatehighWith machine unplugged, locate the line fuse or circuit breaker. Remove fuse if applicable and check visually and with meter for continuity. Inspect line filter board for swollen components or burn marks.
Digital MultimeterFlashlight or Work LightStop conditions- Fuse holder shows heat damage or melting
Expected: Fuse shows continuity and line filter components appear normal
Evidence to note: meter-reading
- 2
Check Low-Voltage Power Supply Output
technician-advancedlive-voltageWith appropriate safety equipment, verify the low-voltage power supply or transformer is producing output. Measure at the output terminals or connector. Refer to manufacturer specifications for expected voltage.
Qualified technician handoff: stop before live electrical testing, sealed-system refrigeration work, compressor service, or protected-compartment access unless a qualified technician is handling the work.
Digital MultimeterStop conditions- Transformer or supply emits buzzing louder than normal or shows signs of overheating
Expected: Low-voltage output within expected range
Evidence to note: meter-reading
- 3
Verify Controller Power LED or Status Indicator
operator-intermediatehighIf the controller has a power or status indicator, observe its state. Consult manufacturer documentation for indicator meaning. A dark or flashing indicator when supply output is confirmed may indicate a controller issue.
Expected: Controller shows active power indication
Evidence to note: photo
Tools for this route
Location Help
Where to find this
Use this as orientation before touching the machine. It is location help, not a repair instruction.

Start at the customer delivery bin and product drop path; clear visible product and debris before moving to internal checks.
- Routes and filters incoming AC power to the machine
- Power cord
- Line fuse
- Line filter
Do not open energized or protected electrical areas unless a qualified technician or licensed electrician is handling the work.
cabinet drink power supply
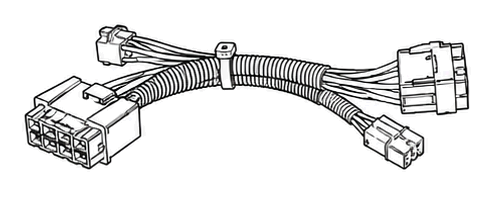 terminal block
 service panel
Parts status
Exact public parts list not verified yet. Use this route to identify the system before ordering.
Candidate areas for part verification
Other Possible Issues
Switch routes if this symptom is not the closest match.